Social Media

Setting up your Facebook pixel correctly is key to a successful Facebook Advertising campaign. Luckily, Facebook is working to make setup and conversion tracking easier, even for those without web development experience. The new Event Setup Tool allows pixel users to place “Events” on their website conversions through both URL and button click rules *without* editing the code of the website itself. As someone who has worked to set up many pixels, I was super excited to see this feature start to roll out! While it is not available on all accounts yet, it should continue rolling out in the coming months.
What are Events?
Events are actions that people take on your website that can be tracked using the Facebook Pixel. Examples of events include purchases, email subscriptions, contacts, and more (see a full list of Standard Events here). If you want to track an event that falls outside of that list, you can create a custom event, but it’s not yet possible to create these using the Event Setup Tool.
What types of actions can trigger an Event?
Events can be triggered either by someone loading a specific URL on your website (such as a Thank You page following a subscription or purchase) OR they can be triggered by a button click that doesn’t necessarily load a new page. The ability to track button clicks is useful when the button leads to an offsite page that isn’t tracked by your pixel, or submits a form that doesn’t go to a separate thank you page.
Why do we want to track Events?
We can use Events to run ad campaigns with the Conversion objective. Using the conversion objective allows Facebook’s powerful tools to optimize delivery of your ads to people who are more likely to take action on your website, whether that’s making a purchase or filling out a contact form. Standard events are automatically available as conversion events that you can tell Facebook to optimize your campaign for. Events can also be used to track key conversions and calculate ROI on all of your Facebook Ad campaigns, even if you are not optimizing for conversions (such as in engagement or video views campaigns).
How to Find the Event Setup Tool
Once your Facebook Pixel is installed on your website, you can navigate to the Events Manager here:
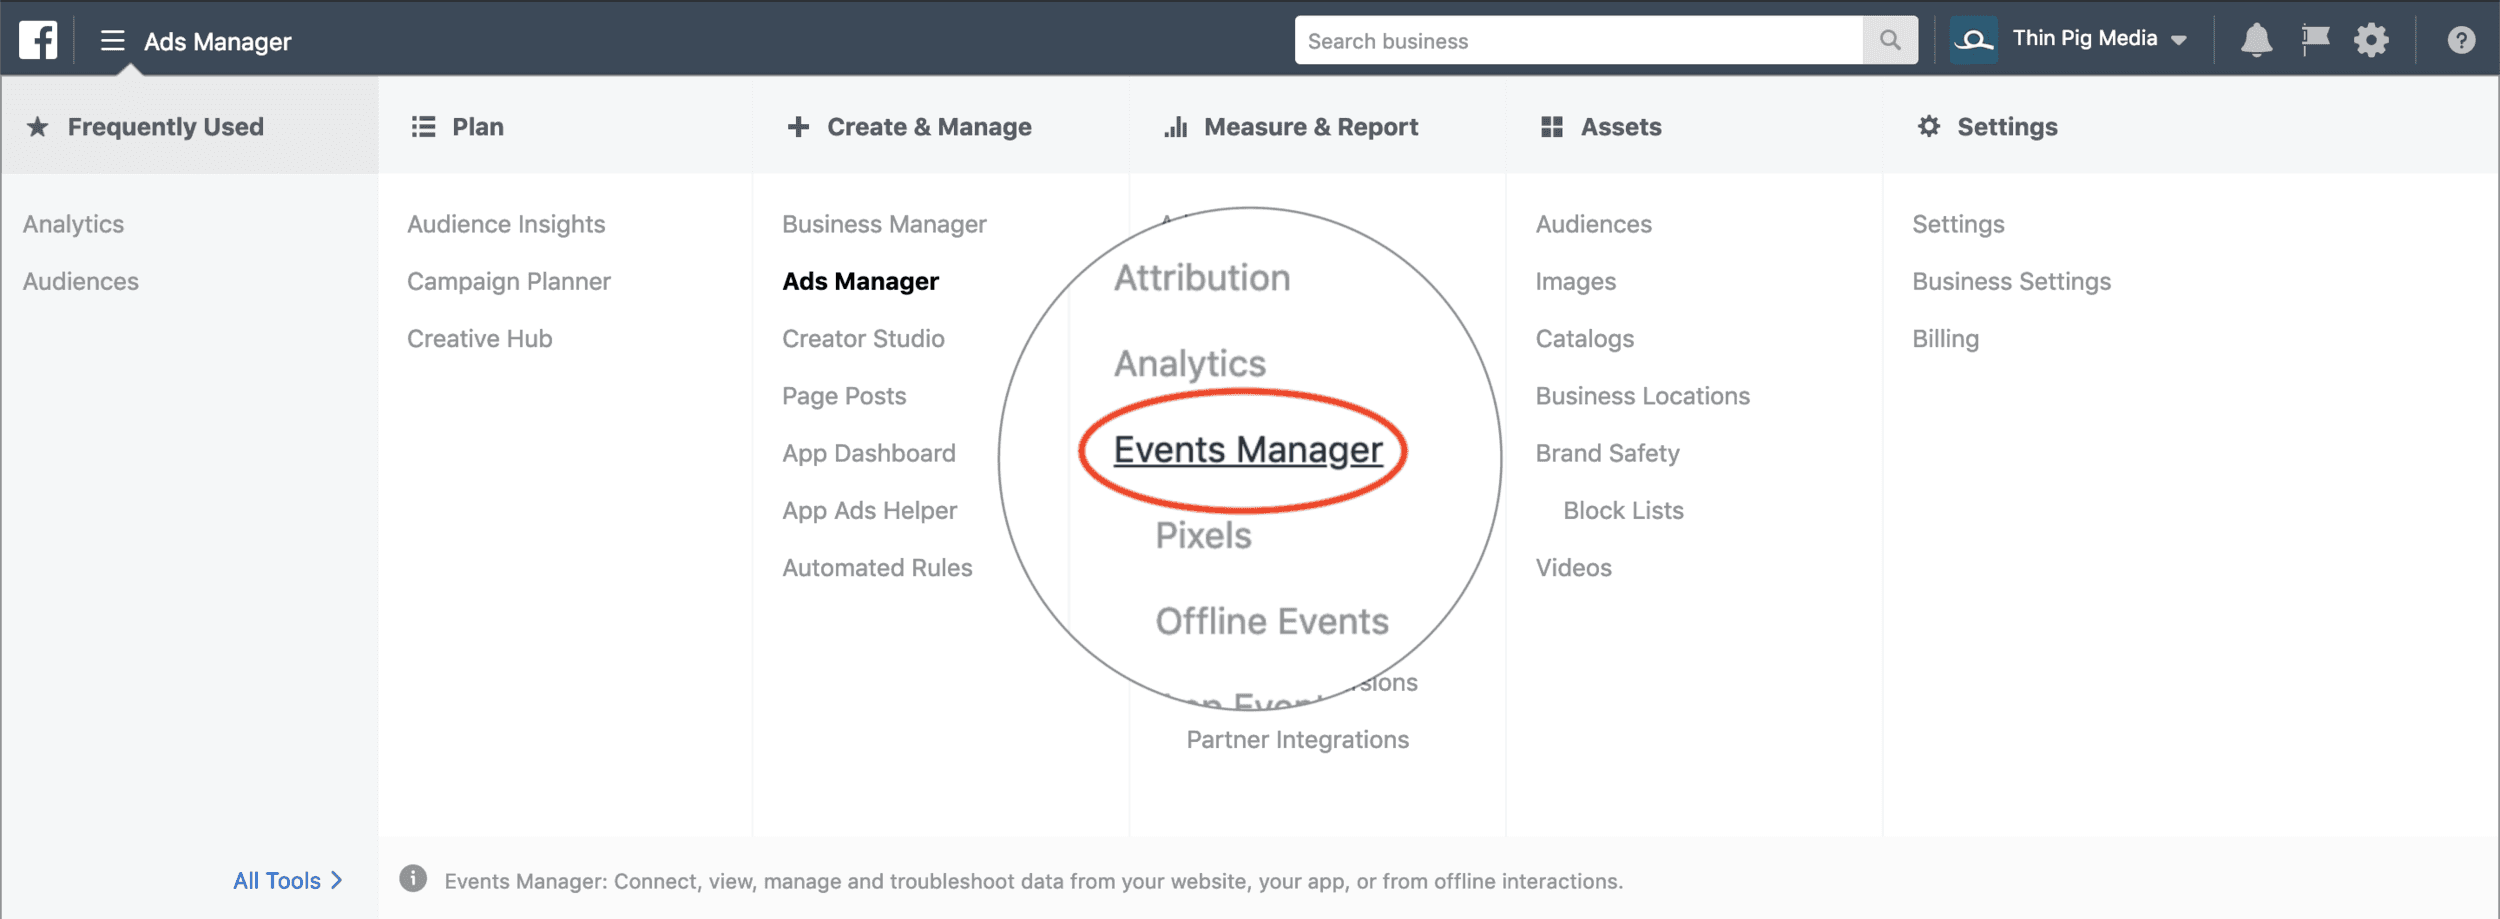
From the Events Manager, select your pixel. If you don’t yet have a Pixel set up, follow these instructions. You will then see an overview page with all events that are currently set up. PageViews are automatically tracked by the Pixel once it is installed, so if you don’t have any other events set up, you will just see a chart tracking these. To set up new events, click “Set Up” in the upper right corner and click “Set Up New Events”.

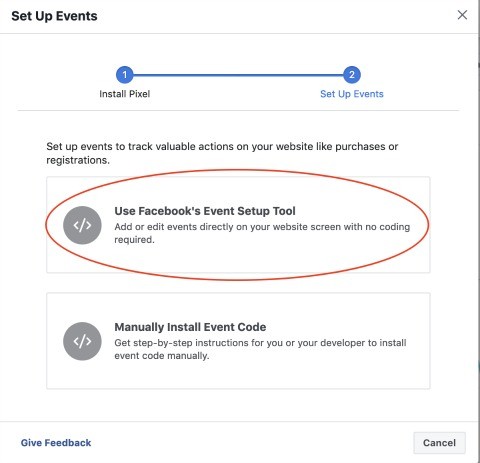
A pop-up will appear here with options for different ways to set up your events. Click the first option “Use Facebook’s Event Setup Tool”. You must be an admin on the Pixel you are setting up events for to use this option.
Setting Up Events Using the Event Setup Tool
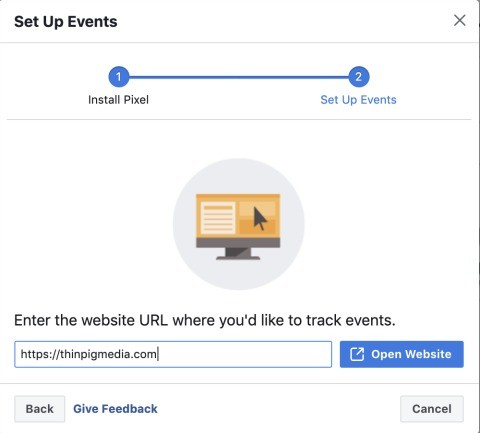
When you enter the Event Setup Tool, Facebook will ask you to enter the URL that you would like to setup events on. Remember, this must be a website that contains your base Pixel code. Type in your website address, and click “Open Website”
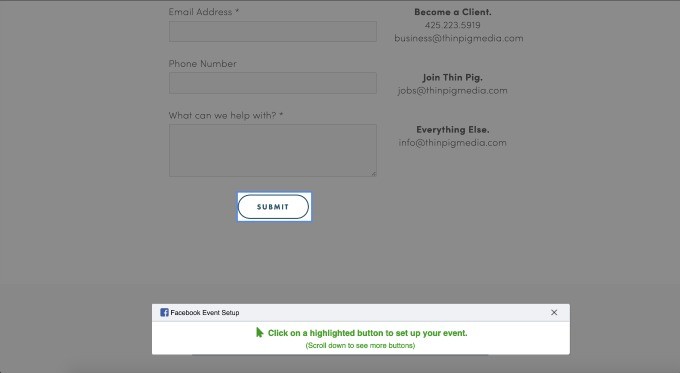
Your website will open in another tab, overlayed with a box that looks like this:
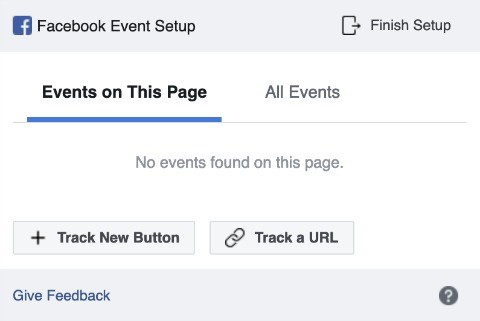
You will notice that you have two options for setting up events — on a URL and on a button click. From here, you can navigate to different pages on your website where your events take place — the event setup tool should follow you. To setup a button click event, click the + Track New Button. Facebook will highlight available buttons and links on your page.
Select the button or link you want to track, and then select the Event you want to be triggered when the button is clicked.
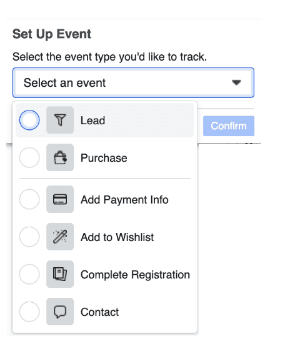
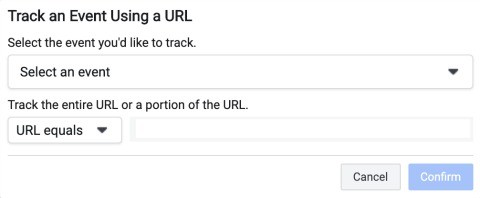
Hit confirm and your event will be saved! To create an event based on a link, click the “Track a URL” button on the page you want to track. The URL should match the page you are on, but you can also edit it into a “URL contains” condition. Hit confirm and your event will be saved!
Once you have added all the events you want, you can click the finish setup button. Your events will begin being tracked in the Events Manager on Facebook.
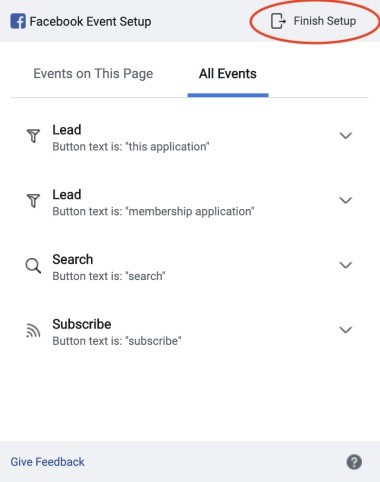
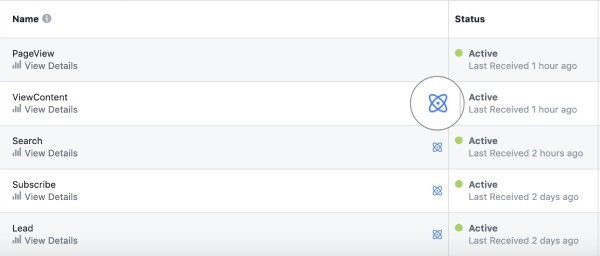
Events that were setup using the Event Setup Tool will have a special symbol next to them (seen below).
Once your events are active, you should be able to use them in any future conversions campaigns! To see these conversion metrics on future campaigns in Ads Manager, use the “customize columns” feature and check the boxes next to the events you want to see.
For more information and troubleshooting on event setup, see this help page from Facebook.
Want help with Facebook Advertising from the pros at Thin Pig Media? Get in touch with us here: https://thinpigmedia.com/contact
