Style. Shoot. Eat.
One of my first jobs in photography involved shooting food for a company of restaurants. Throughout the years, I learned a lot about food styling and choosing the right props. If you’ve ever needed to take some food photographs or think this is something you might want to try, here’s a few quick tips for you to get started.
1) Practice, practice, practice.
I know this isn’t something many of you want to hear, because it takes a lot of time, hard work, and effort to practice, BUT I promise you this is THE only way you’ll hone in on your own style, craft, and skills. Whether you’re using a DSLR, digital camera or your phone, it’s important to play around with different settings ahead of time so you understand the best way to way to use your tools. Not all photos need to be taken on a fancy camera, the best camera is the one you have with you.

2) Research and Planning
Many food photographers and stylists will tell you that you have a very short window of opportunity to get the shot once the food hits the table. To a certain extent they are correct. Hot dishes in particular are going to look their best when they are still hot and fresh out of the oven. That doesn’t mean, though, that the food’s first appearance in front of the camera has to be once it’s fully camera-ready. All you need is some planning and good time-management.
If you’re photographing for a client, take a look at the menu ahead of time to assess items which will photograph well. Consider dishes with lots of colour, texture and height for maximum “wow” factor.
You should create a shot list to ensure you are going to capture all of the items on your client’s wish list and are going to cover all sections of the menu (starters, mains, desserts, etc.). Determine where you want to stage the shoot before the dish arrives and then choose multiple angles to shoot when it does. If multiple dishes arrive at once, decide the order of the photoshoot based on the temperature of the dishes. Salads will generally look the same in photos whether the photo is taken in 5 minutes or 20 minutes. Ice cream, on the other hand, is just a bit more time sensitive.

3) Lighting is everything!
Sometimes you’re just stuck with a crappy weather day and there’s nothing you can do about it. Sometimes you have to shoot at night or in a dimly lit restaurant. Natural light is usually best for food photography but direct natural light can also give you really hard shadows. You can mimic daylight or have someone provide more light (with the flashlight on your phone) or less light (with a sheet of paper or diffuser) if you have to. Experiment and find the best light you enjoy working with.
Pro-Tip: Take a day to just play around with your camera and a bowl of fruit- take that bowl of fruit around your house or studio during different times of days and shoot at different angles, make note of the time of day that produces the best quality shot in your opinion. It’s art and it’s personal so have fun with it. If you decide to go with the overhead angle, watch out for unwanted shadows!
4) Vary the camera angle
Just like human subjects can be photographed from more flattering angles, the same goes for food. It’s important to remember that the concept you see in your head might not always make the best photo. That’s one reason why I almost never shoot a dish from only one angle. Get the shot you think you want, but then take a few minutes to recompose and take another. Variety is important, particularly if you are shooting for a client. Clients like choices. Also keep in mind that different angles will be better (or worse) for different types of shots. Photographing rows of cupcakes from an angle just above them, for instance, can create interesting leading lines through the frame. Shooting a collection of ingredients, on the other hand, can often benefit from an angle directly above them. As with any other type of photography, choose your angles carefully. It is your choice of camera angle that creates a sense of depth, perspective, and scale. Choose wisely. Remember that an added benefit of shooting food is that it won’t get bored or frustrated with you while you take your time getting everything just right.

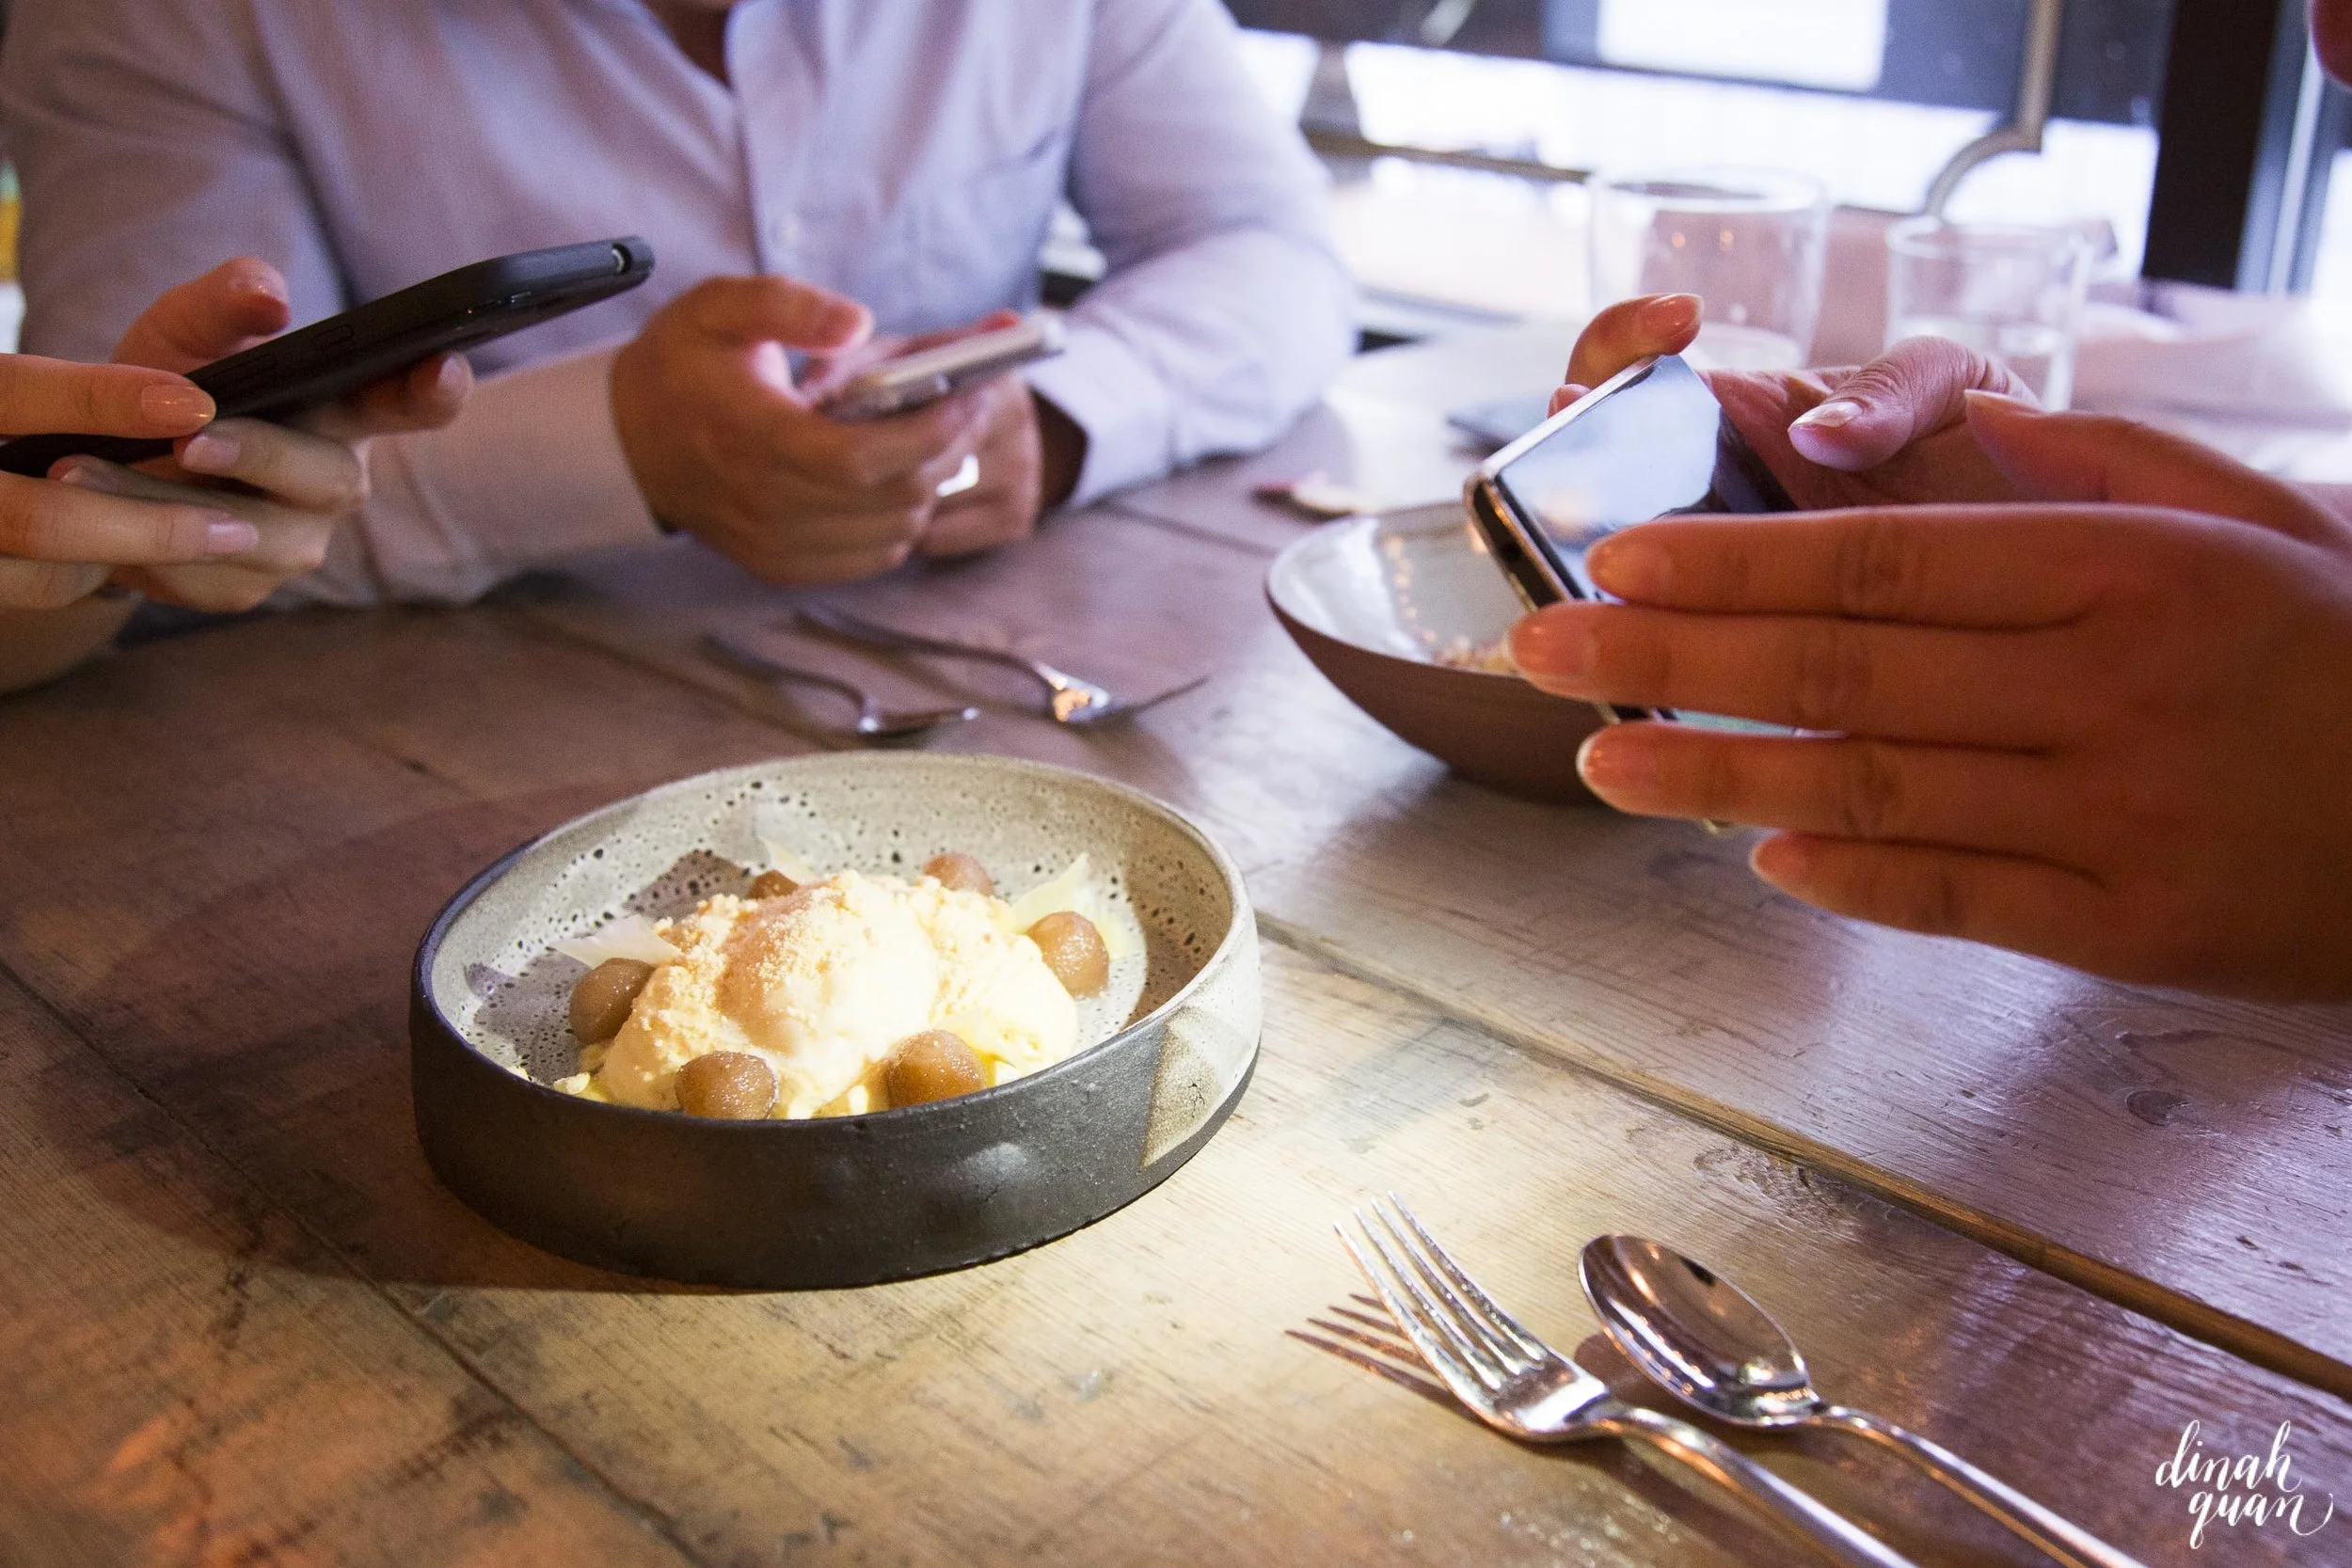
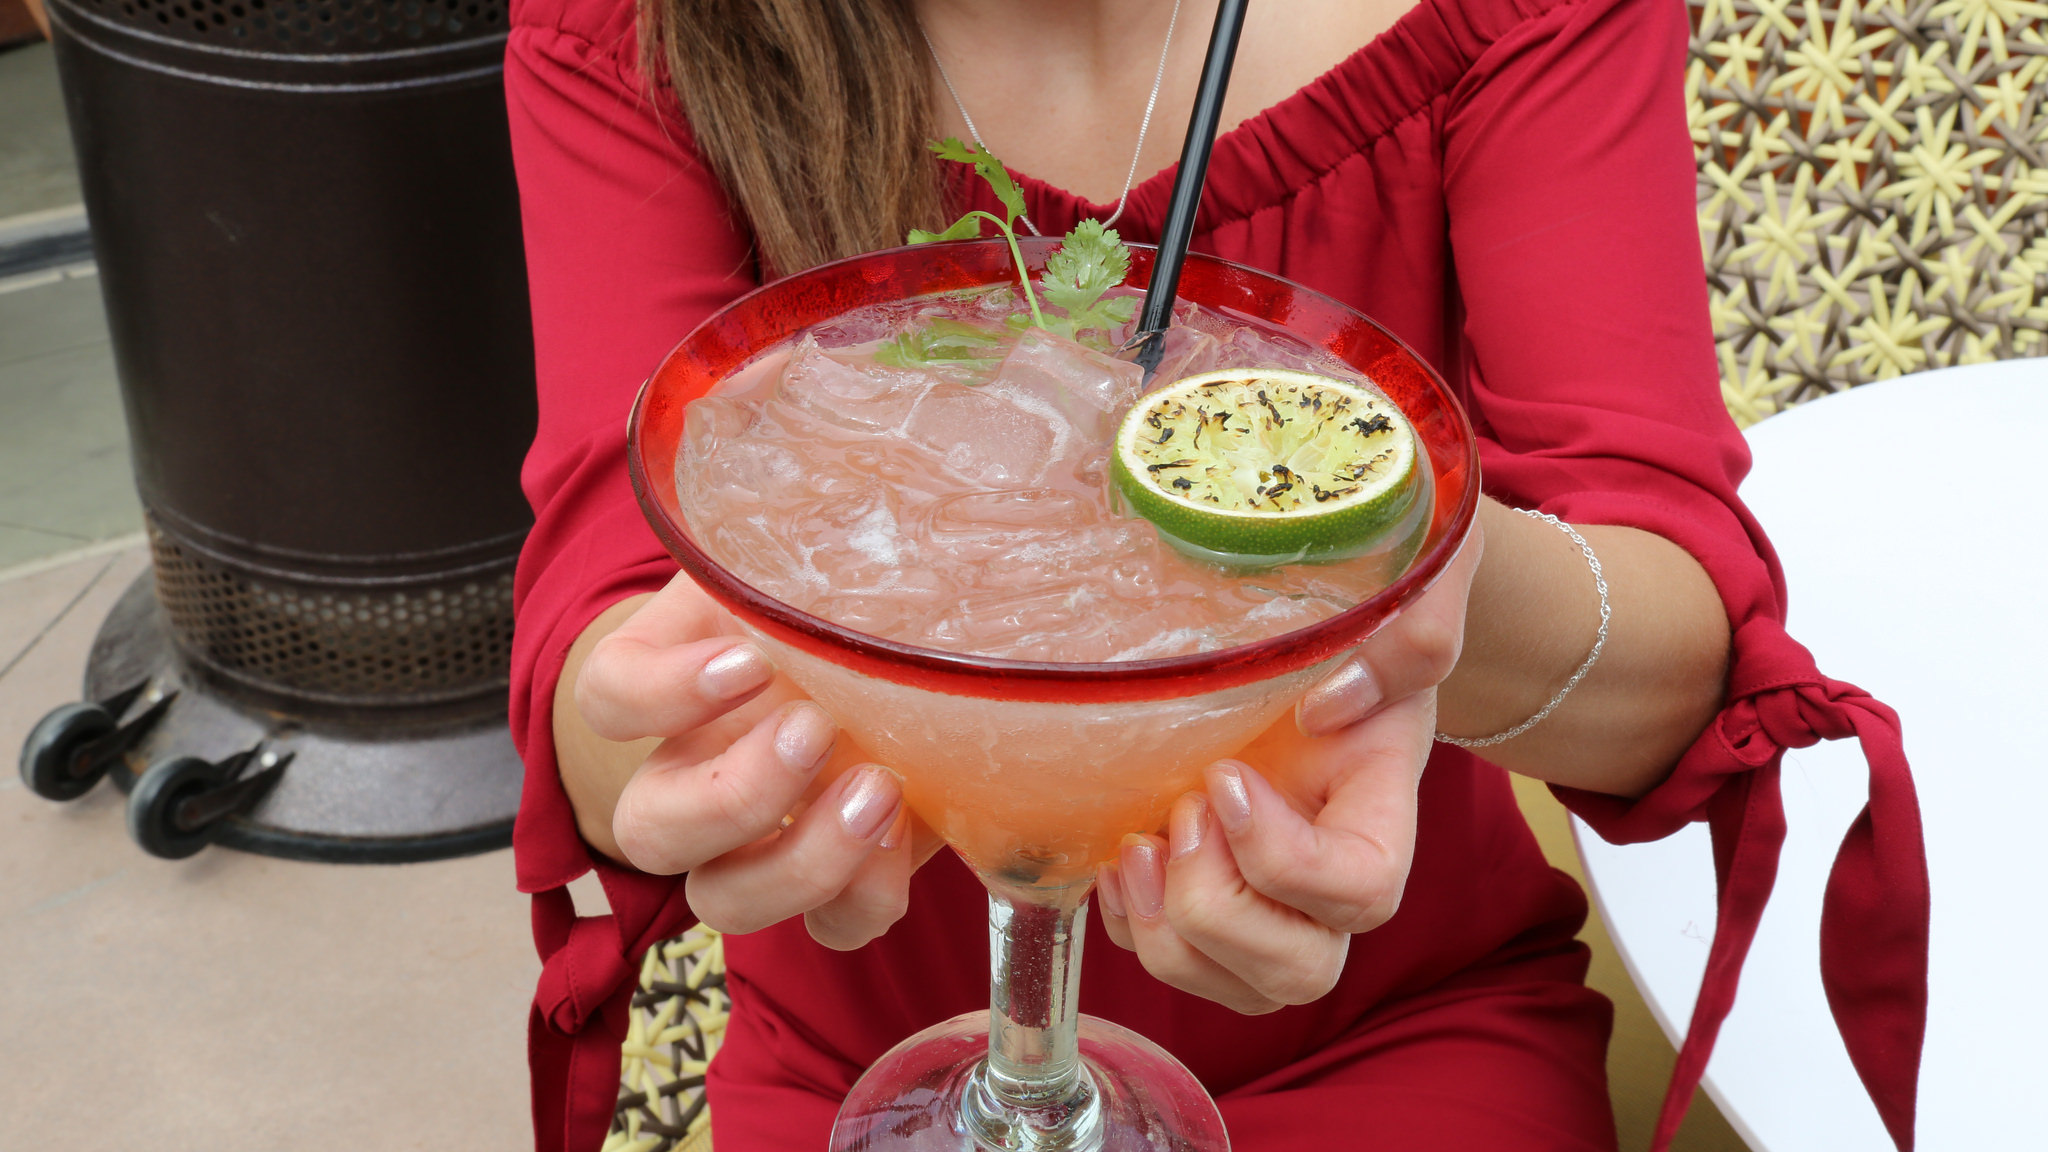
Pro-Tip: Add a human element. Adding a hand stirring a pot or holding a plate allows you to show scale and adds a human element which is often more appealing and real to viewers.
5) Strength in numbers
Finally, one of the most important things to have during a food photo shoot is a group of patient friends who are willing to help move cutlery around, assist with providing more lighting (usually with the flashlight app on their phones) and sit around and wait (and wait.. and wait.. and wait..) until you’ve captured the perfect shot! As a thank you for their full co-operation, they’re often awarded with a table full of tasty dishes - which is usually more than I can consume on my own!

Photo of previously mentioned awesome (and patient) friends in action :)
I’m definitely one of those people that takes a photo of my food before I eat it, especially if it’s particularly nicely presented. I feel I owe it to the chef who took such great care in preparing it. I often just use my iPhone6, but when I do have my camera I will take some time to set it up before I eat it and take a few shots. The best part of food photography is eating your subject afterwards. So have fun and experiment all you want. Practice makes perfect. Last pro-tip: The more you go out to eat, the better your photos will be!