7 Steps to Perfect Food Photos

 Humans are visual creatures, so emphasize visual content to boost your social media presence. Most people would love to see a mouth-watering burger in their Facebook, Twitter, or Instagram feed. Capitalize on this by posting eye-catching food photos and grab more online fans. As we’ve written before, visually appealing posts, like photos and infographics, boost audience engagement for all different kinds of businesses. In the case of restaurants -- where quality photos are a MUST -- using a DSLR camera offers a competitive advantage. A cell phone with a decent camera can be made to work too -- if you follow these tips:
Food Photo Musts
- Lighting. This is the most important ingredient of a quality photo. You can not duplicate the soft glow caused by the light at sunset. It’s called the golden hour for a reason! When setting up a photo shoot for food (or an interior), make sure the natural light comes from the sides or from behind you. Now, position the subject in indirect light so that no part of it is overexposed.
- Focus. No one likes fuzzy photos or out-of-focus food. You want crisp images so your fans will feel compelled to visit your restaurant. Most smartphone cameras now come with the ability to pick a focus -- don’t rely on auto-focus. Focus on the food with a tap of your finger.
- Composition. The 'rule of thirds' is a tried and true principle to remember. Keep the subject to only two-thirds of your frame, whether that is vertical or horizontal. When in doubt, zoom out and then crop later. Photos of food should be free of visual 'background noise' that could distract from the main attraction. If there is no color in the food, add color as a placemat, napkin, flower or other simple splash.
Food Photo Edits
These next steps are optional, but small edits can really enhance your food photos. When using a photo-editing app like VSCOcam or Litely, apply your chosen filter first, then move onto adjustments.
- Contrast. In black and white photography, you are told to have a pure black and a pure white in the photo. An all-gray photo is not as visually appealing. You can apply this to color photos by making sure you have colors that are naturally saturated. Usually, a one or two notch increase in contrast will be enough.
- Brightness. You can adjust lighting here, but note that it will make the photo as a whole brighter and not individual parts. You can also emphasize the focal area by increasing dimmed areas (like the perimeter) with a shadows option.
- Saturation. When you adjust contrast and brightness, sometimes the photo becomes too saturated. You’ll notice it more if there is a strange orange tint to your photo. A few filters also have saturation built in. Be careful here! Too saturated and your photo comes out like a fake tan. Not enough saturation and your photo looks like someone bled it dry.
- Crop. Look at your final product. Consider the guidelines for the social media platforms you will post it to -- do you need to crop or re-size your image? We have the guidelines HERE for the best sizes, shapes and ratios to use for the top social media platforms.
Finish the photo editing process by taking a break! Walk away from your photo or move on to another. Have a snack since you are probably hungry from looking at food photos...Revisit the photo in fifteen minutes and look at it with fresh eyes. With a little practice, and these proven tips, your food photos will go from boring to bon appétit!
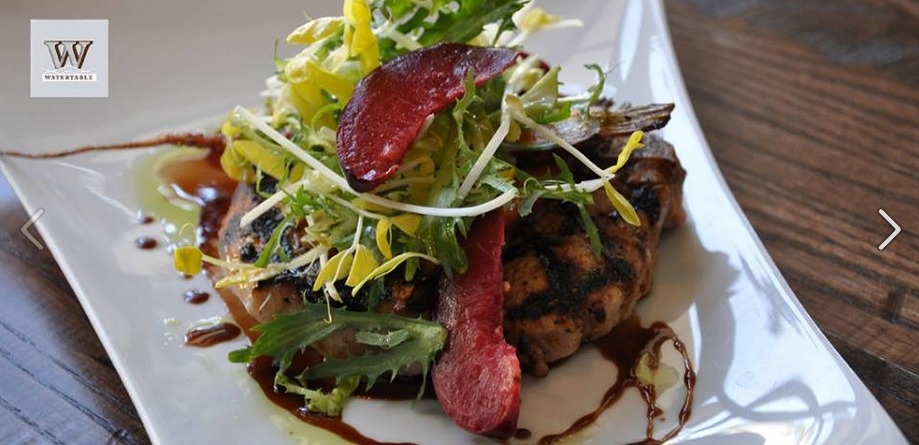
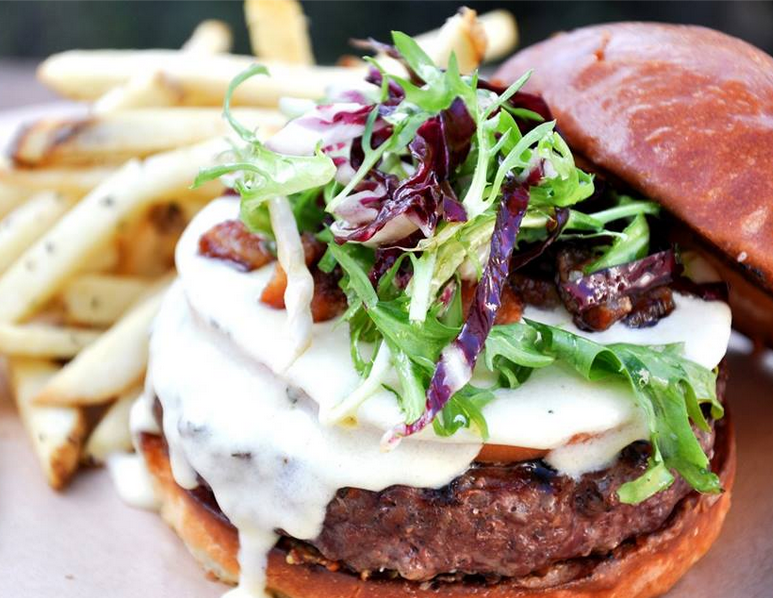
{Burger photo and Rosemary-Honey Brined Berkshire Pork Porterhouse with stone fruit chutney & port wine reduction photo courtesy of Watertable restaurant Huntington Beach, California}